How to put stickers on a curved wall
Are you looking to add a touch of creativity and personality to your living space? Wall stickers can be a fantastic choice. They come in various designs, shapes, and sizes, making them a versatile option for decorating your home.
We previously discussed how to apply vinyl stickers to flat surfaces. However, when it comes to knowing how to put stickers on a curved wall, you may face some unique challenges. But with these helpful steps, you’ll have your stickers displayed on any curved wall in no time.

How to put stickers on a round surface
Putting stickers on a curved or round surface can be a bit tricky, but with the right technique, it's entirely manageable.
Step 1: Gather your supplies
Before you begin, it’s important to get together all the tools you need to put your stickers onto a curved surface with minimal effort.
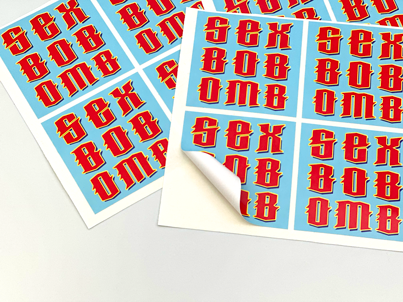
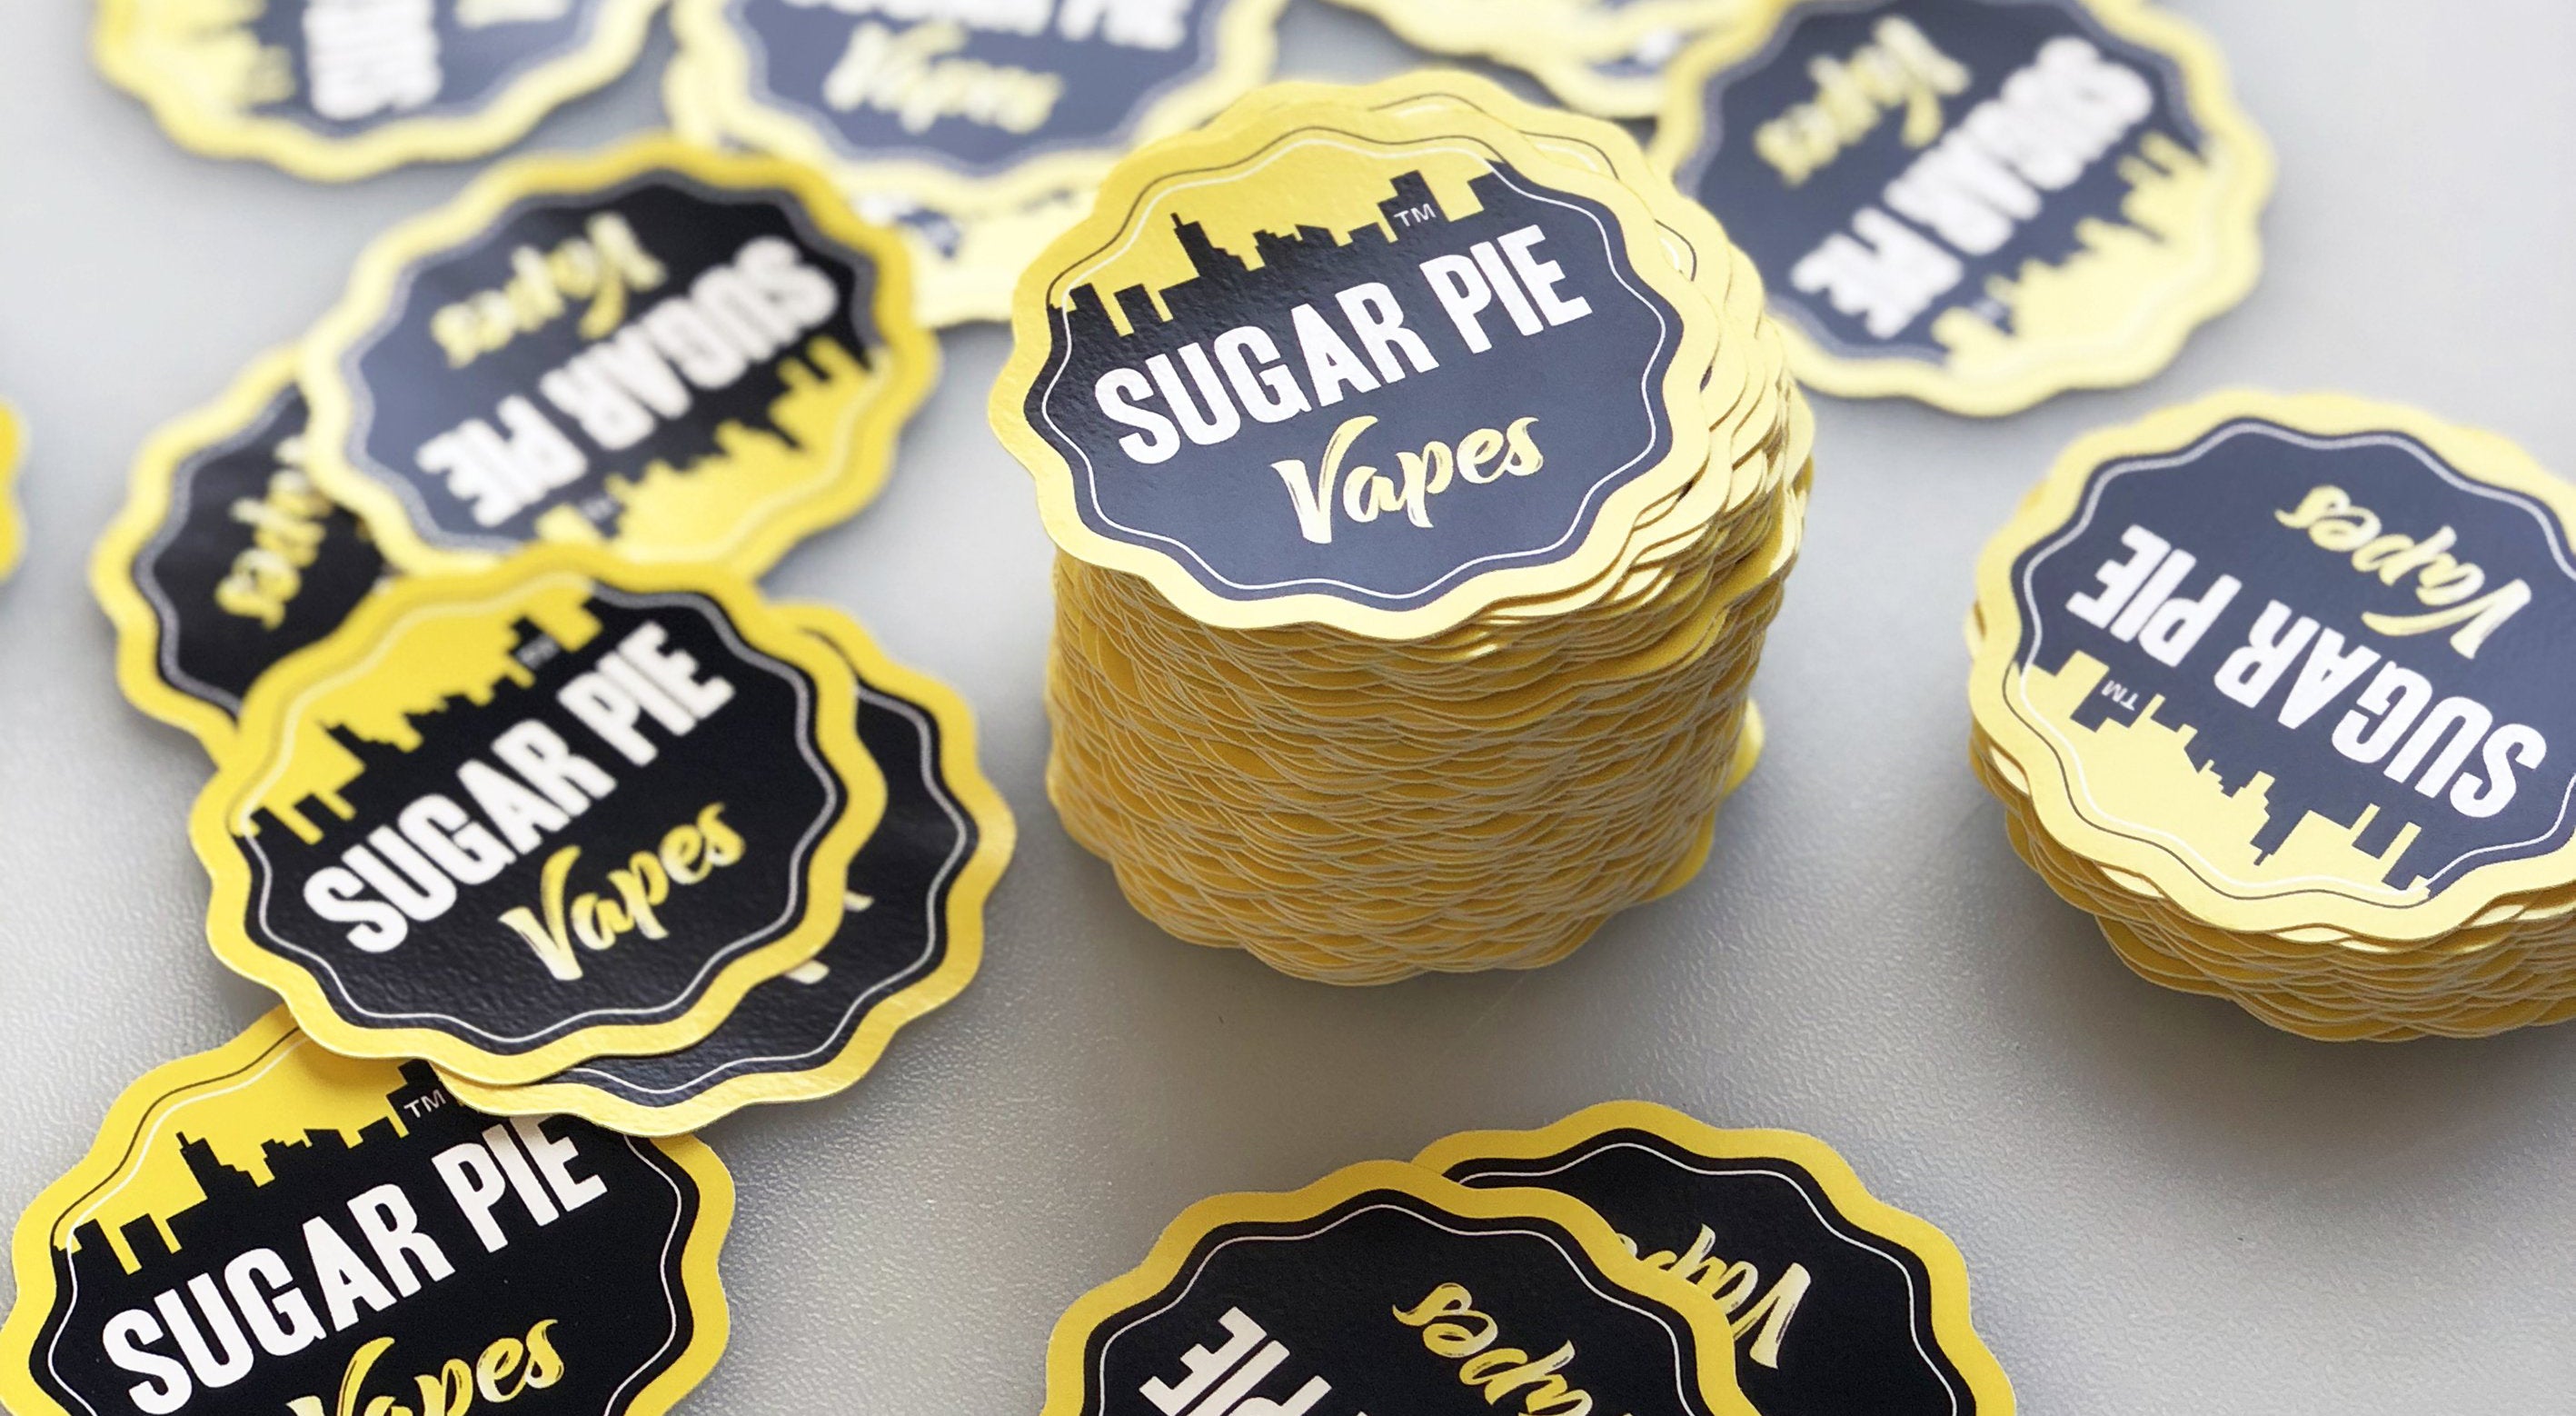
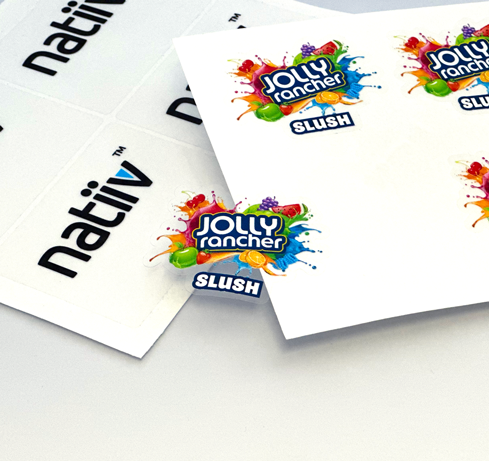
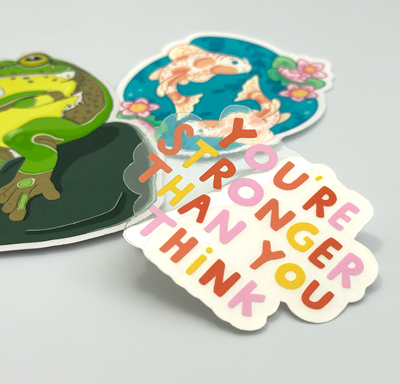
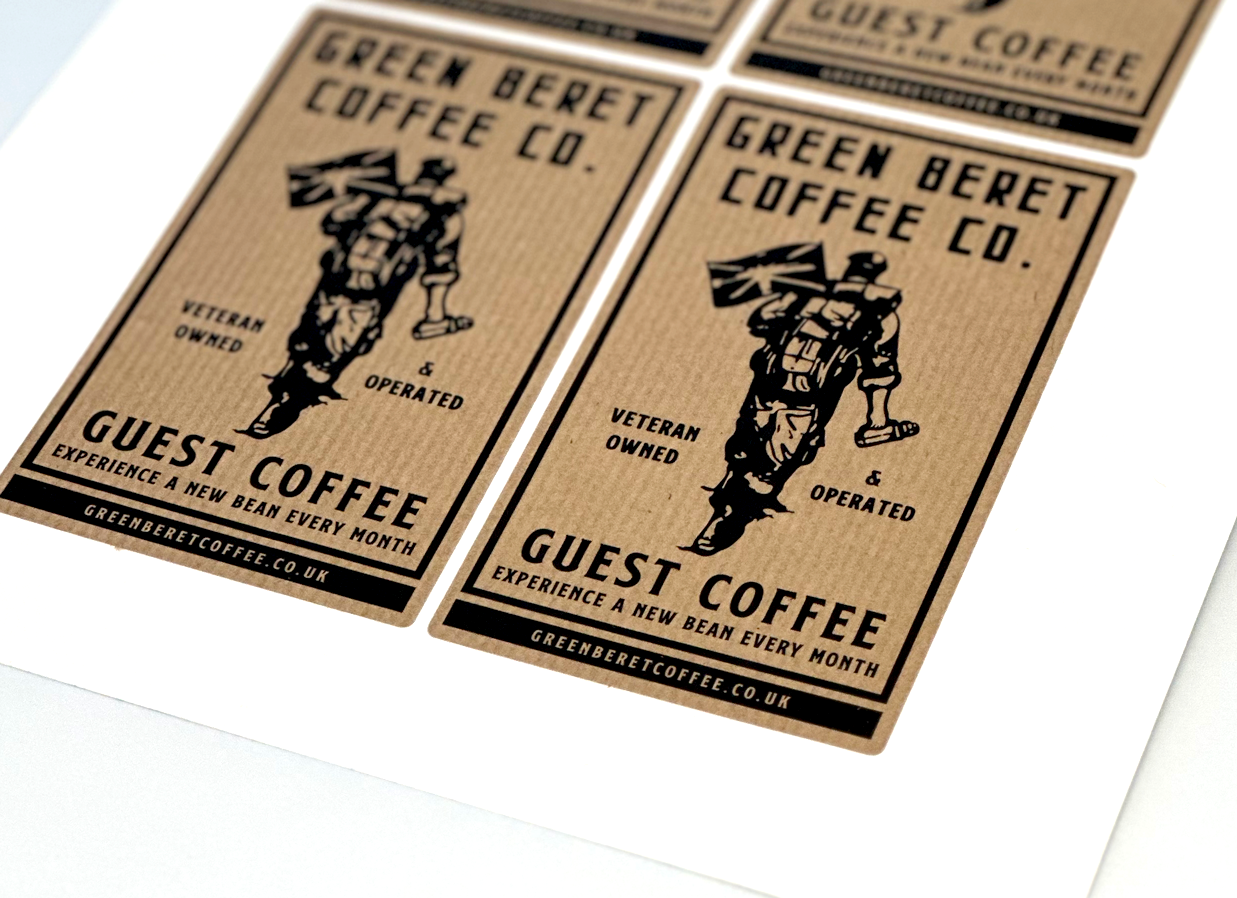
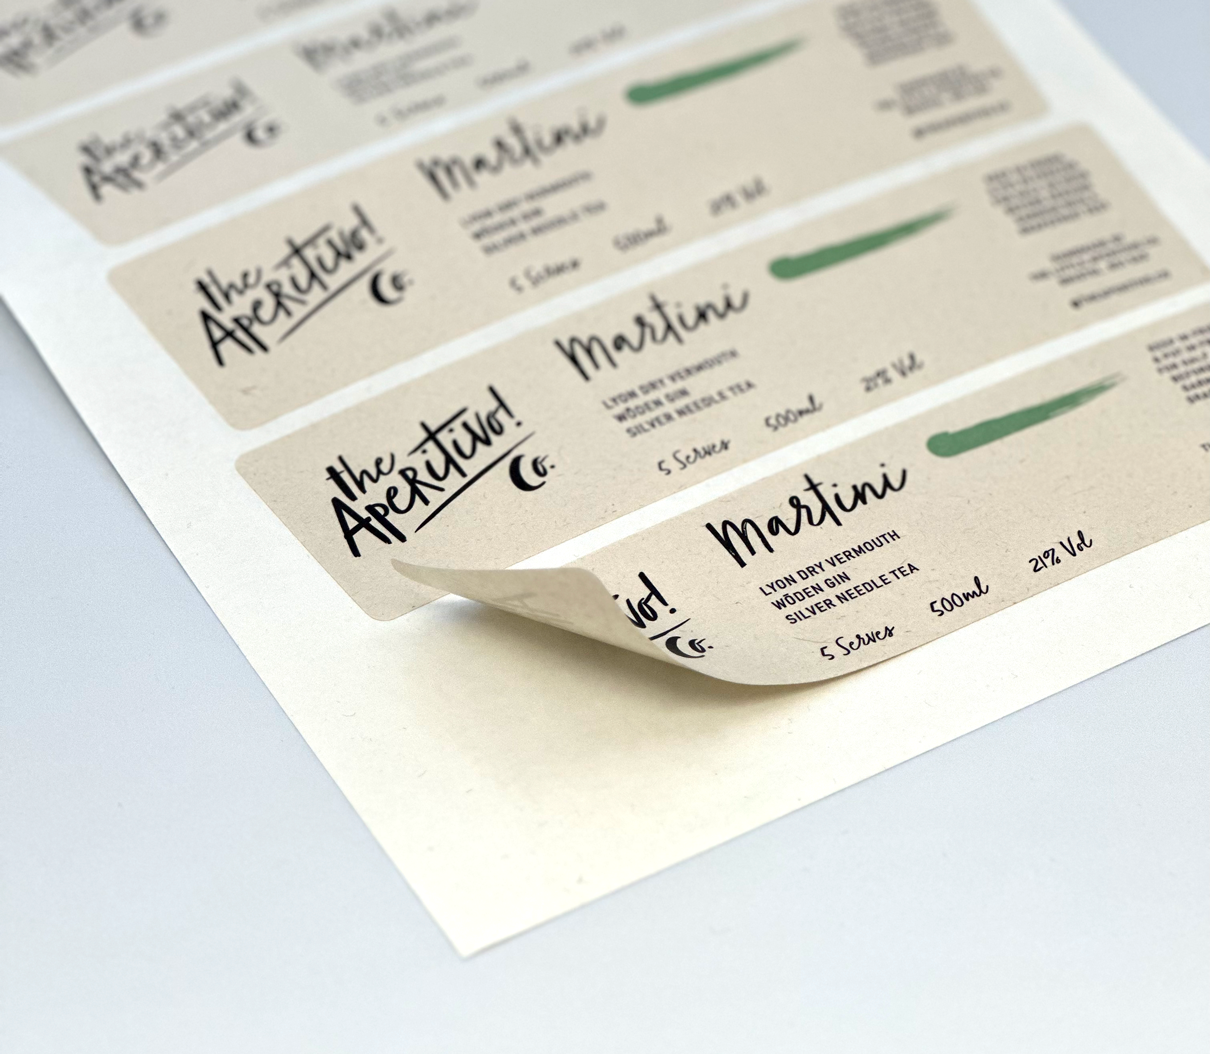
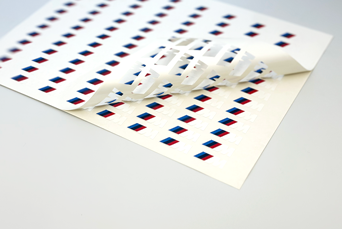
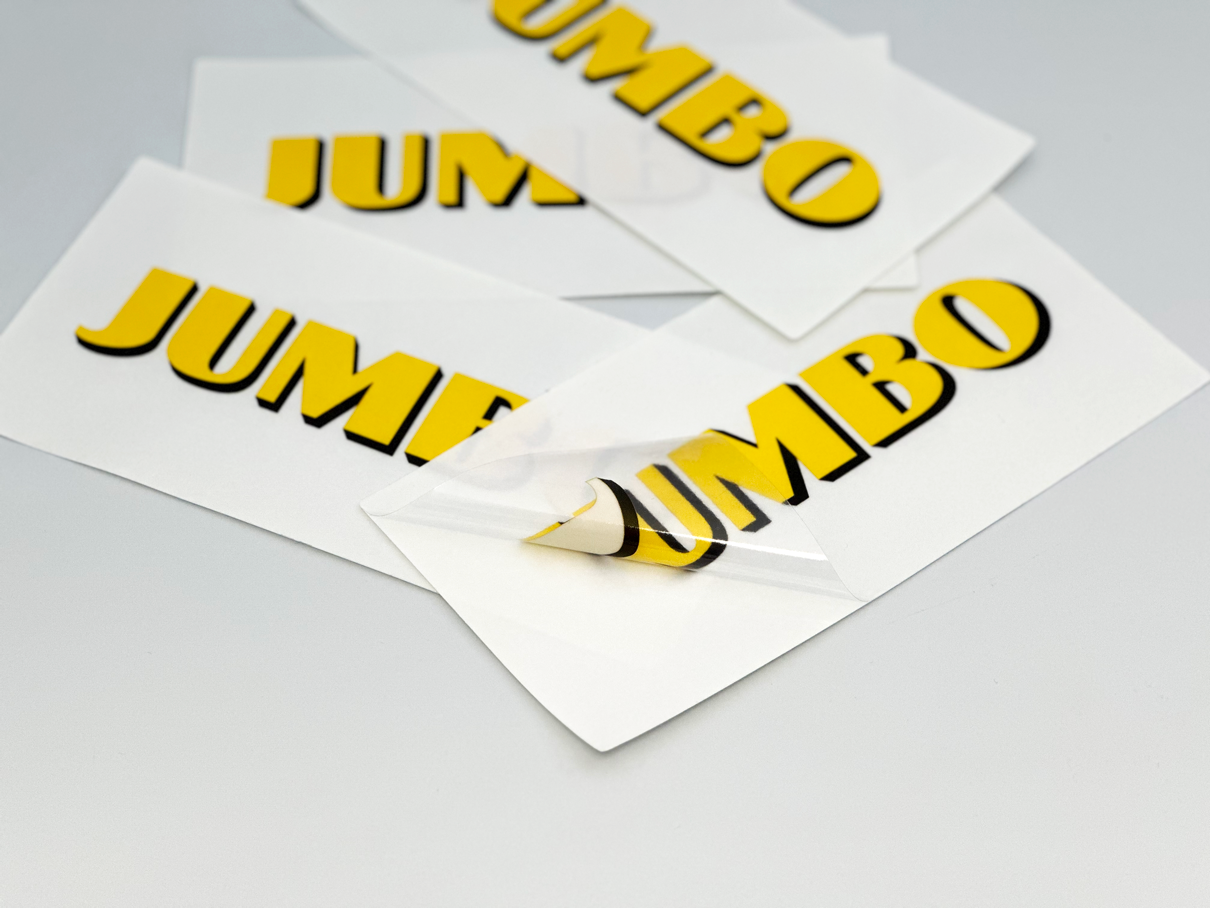
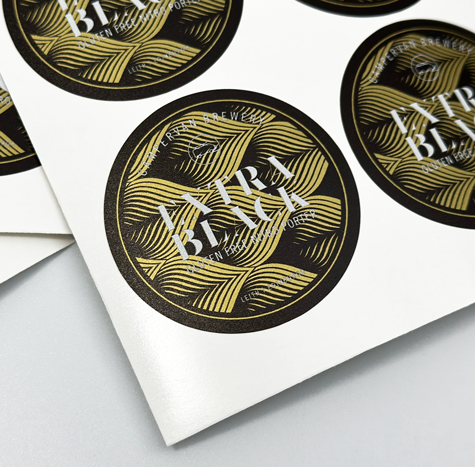
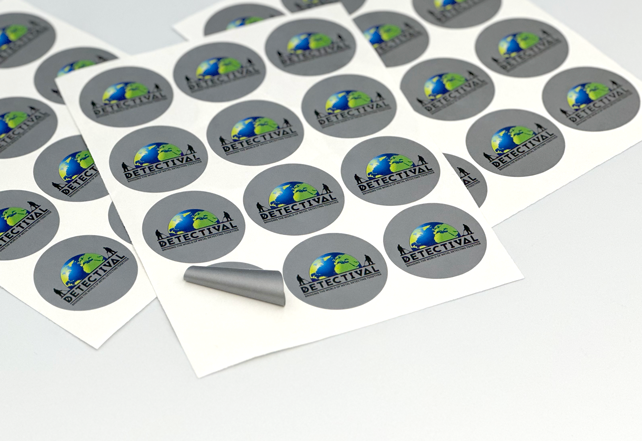
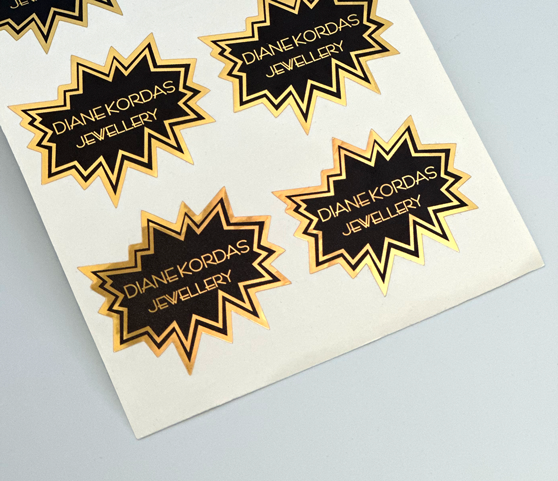
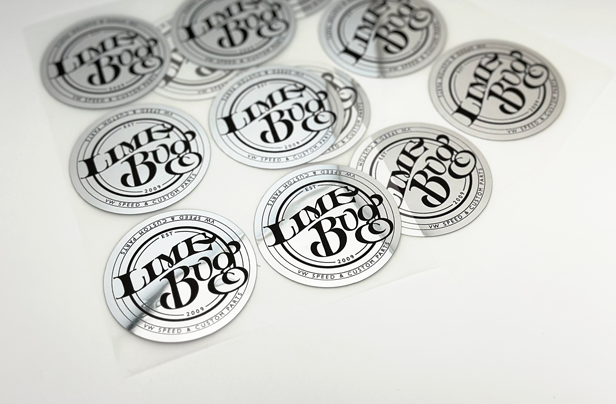
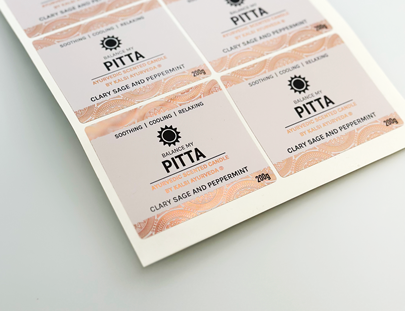
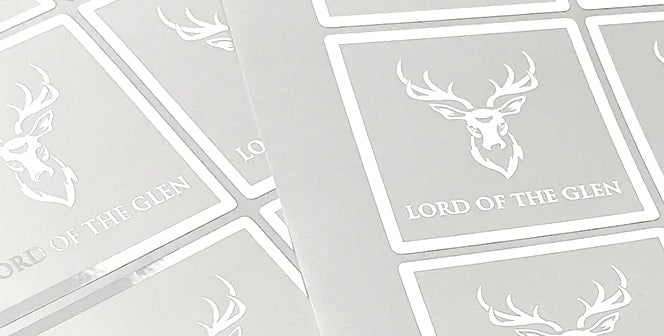
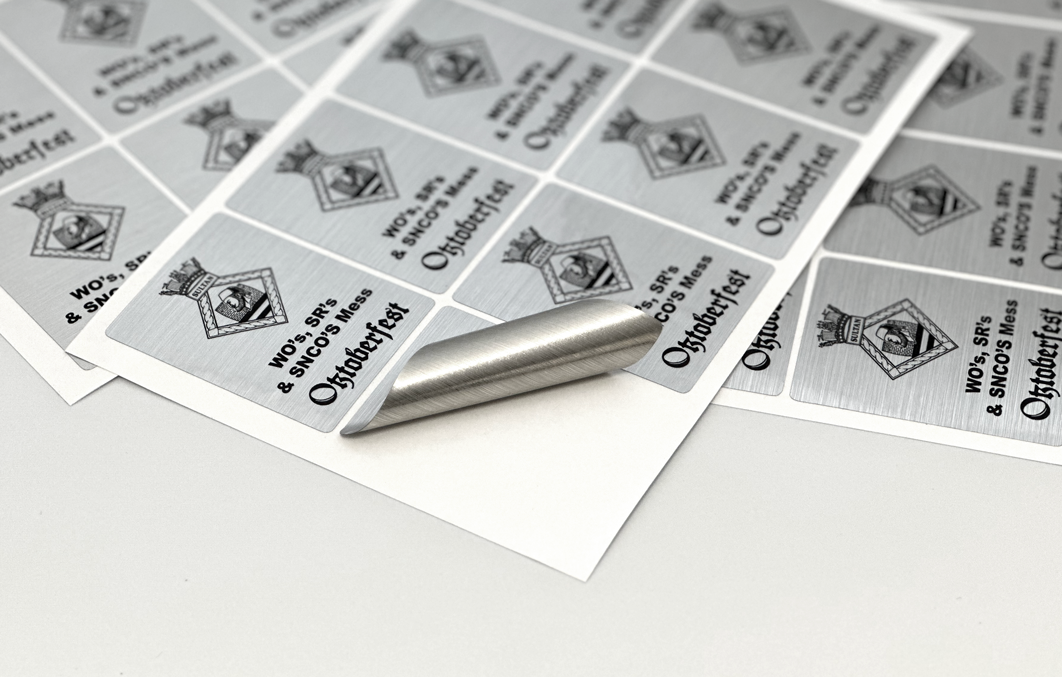
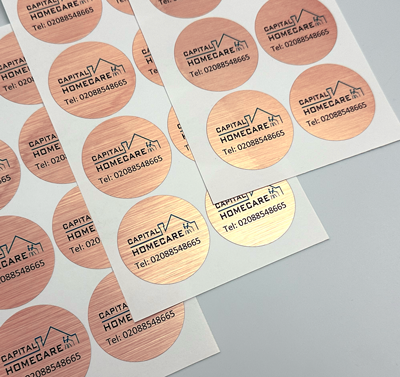
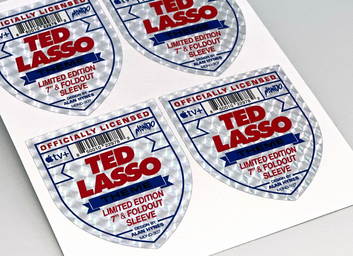
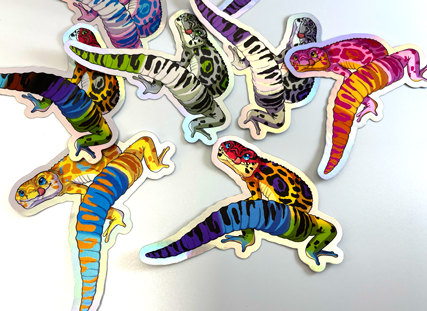
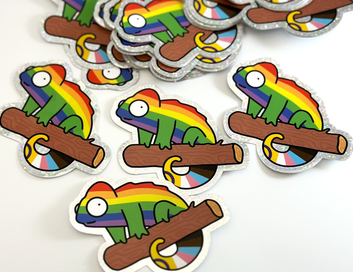
- Wall stickers of your choice (we recommend our Custom Shaped Stickers that come in a variety of shapes and finishes, such as Clear Waterproof Vinyl Labels, or our Silver Metallic Vinyl Labels)
- Masking tape
- A ruler or measuring tape
- A pencil
- A squeegee or credit card
- Scissors
- A spirit level (optional)
Step 2: Clean the surface
Start by cleaning the curved wall surface thoroughly. Remove any dust, dirt, or grease using a mild detergent and water solution. Allow it to dry completely before proceeding.
Step 3: Measure and mark
Using a ruler or tape measure, assess the area where you want to apply the sticker. Mark the centre point to serve as your reference point for alignment.
Step 4: Apply masking tape
Apply strips of masking tape above and below the centre point. These will act as a guide to help you maintain a straight line while applying the sticker.
Step 5: Peel and stick
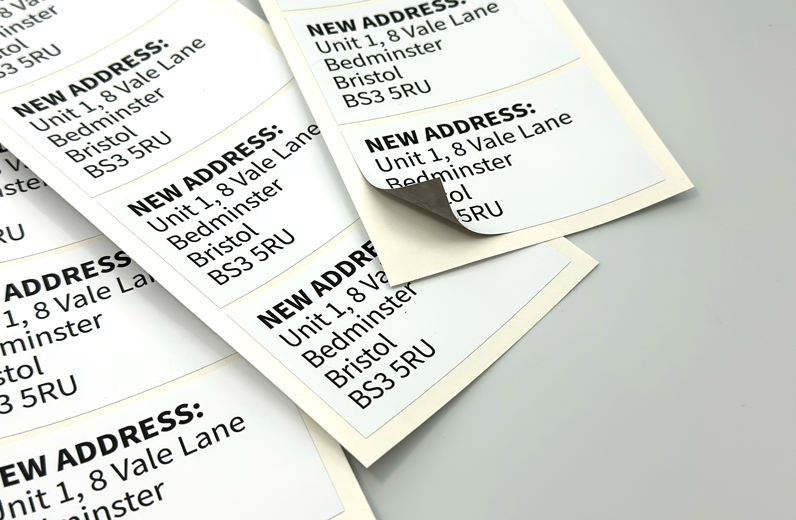
Carefully peel the backing off your wall sticker, starting from the centre and working your way outward. Align the centre of the sticker with the centre point you marked earlier. Use the masking tape as a reference to ensure the sticker stays level.
Step 6: Smooth out air bubbles
As you apply the sticker, use a squeegee or credit card to smooth out any air bubbles or wrinkles. Start from the centre and work your way to the edges, ensuring the vinyl decal sticker adheres evenly to the curved surface.
Step 7: Remove the tape
Once the sticker is in place and all air bubbles are smoothed out, carefully remove the painter's tape. Be gentle to avoid damaging the sticker.
Step 8: Final touches
Inspect the sticker for any remaining bubbles or imperfections. If you find any, gently push them towards the edge of the sticker using your squeegee or credit card.
And there you have it, the ultimate guide to sticking your custom labels to a curved wall surface. It’s quick, simple, and adds a touch of your own personality to any space.
Can wall stickers be used on rough walls?
Wall stickers are designed to adhere well to smooth and flat surfaces. While they may adhere to slightly textured walls, they may not work as effectively on highly textured or rough surfaces. In such cases, the uneven texture can prevent proper adhesion, leading to the stickers peeling off over time.
To ensure the best results, we recommend applying wall stickers to smooth and clean surfaces. If you have a rough wall, consider using other methods like painting, plastering or adding a decorative panel before applying stickers.
Custom wall stickers from Stickershop
If you want to inject some of your own personality onto your wall space, consider creating some custom stickers with Stickershop.
From round, square, and oval shapes, to gloss, matt, and metallic finishes, there’s a sticker for every occasion. Browse our sticker collections today, or get in touch with us to start crafting your custom sticker today.


